Want to stain your deck for long-lasting results? This guide covers everything you need to know—from choosing the right stain to perfect application techniques for a stain deck. We’ll help you achieve a beautiful, durable finish.
Key Takeaways
- Choosing the right deck stain, including selecting between oil-based and water-based options, is crucial for enhancing wood’s natural beauty and durability.
- Proper preparation, including cleaning, sanding, and repairing the deck, ensures even stain application and long-lasting results.
- Applying stain under optimal conditions, such as appropriate temperature and avoiding direct sunlight or rain, helps achieve a durable and professional-looking finish.
1 Choosing the Right Deck Stain
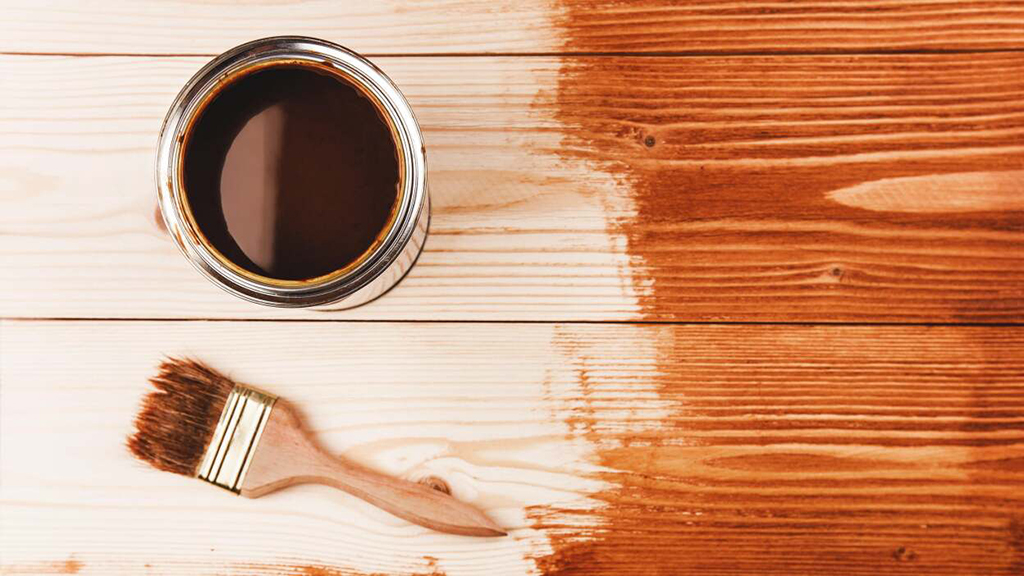
The cornerstone of a long-lasting, beautiful deck begins with selecting the appropriate wood stain. A deck stain that’s well-chosen not only enhances the natural beauty of the wood but also serves as a shield against the harsh whims of the weather. With options ranging from oil-based to water-based stains, the decision can be complex.
Add to that the spectrum of colors available, and it becomes clear that meticulous consideration is essential to ensure that you not only stain your deck effectively but also complement the overall aesthetic of your outdoor oasis.
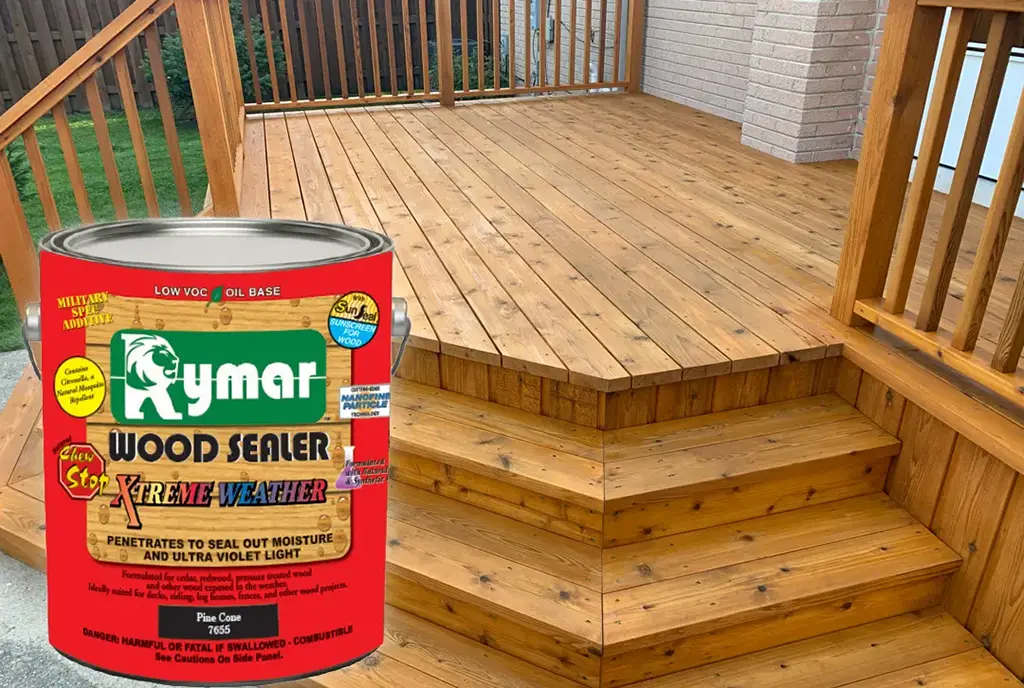
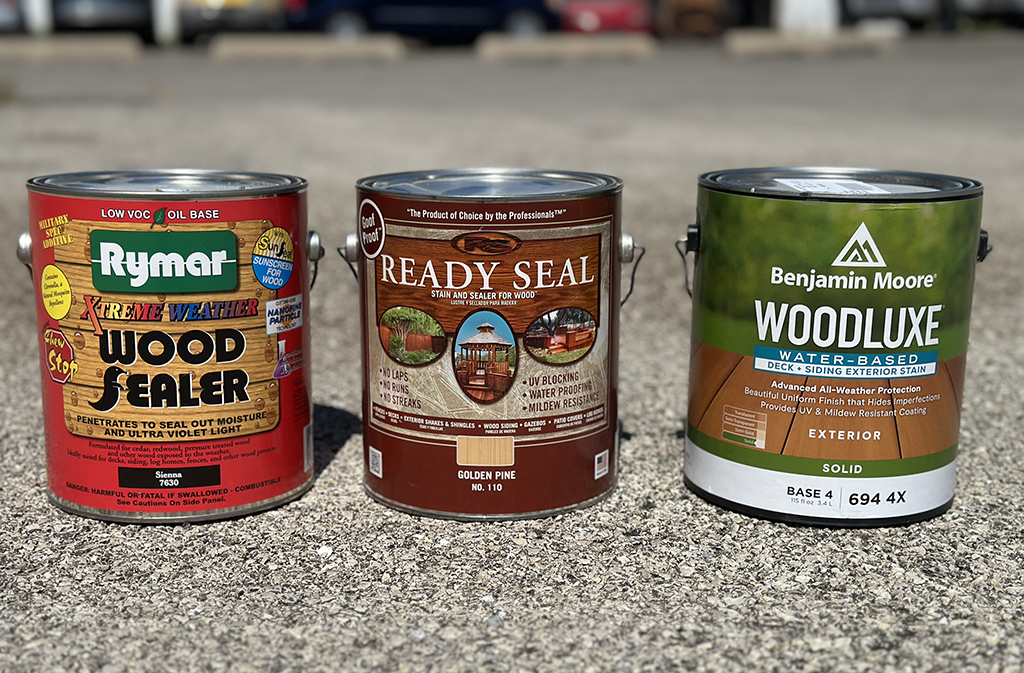
Oil-Based vs Water-Based Stains
When you’re weighing your options between oil-based and water-based stains, think about the character you want your deck to embody. Oil based stain, adored for its ability to enhance wood grain, offers a more natural and subdued appearance. They seep into the wood’s cellular structure, repelling water and bolstering durability.
Water-based stains, on the other hand, have a charm of their own, curing by evaporation and leaving behind a vibrant color that can truly pop. However, both types require a reasonable curing time—up to 72 hours—before your deck is ready to make its debut.
Selecting the Best Color
The color of your stain sets the stage for your deck’s visual narrative, and with such a crucial role, it must be chosen with care. It’s wise to conduct a color test on an inconspicuous spot, allowing you to see the stain in its true light before committing to the entire deck. This simple step can prevent any unwanted surprises and ensure that the hue you select harmonizes with your home’s exterior and natural surroundings.
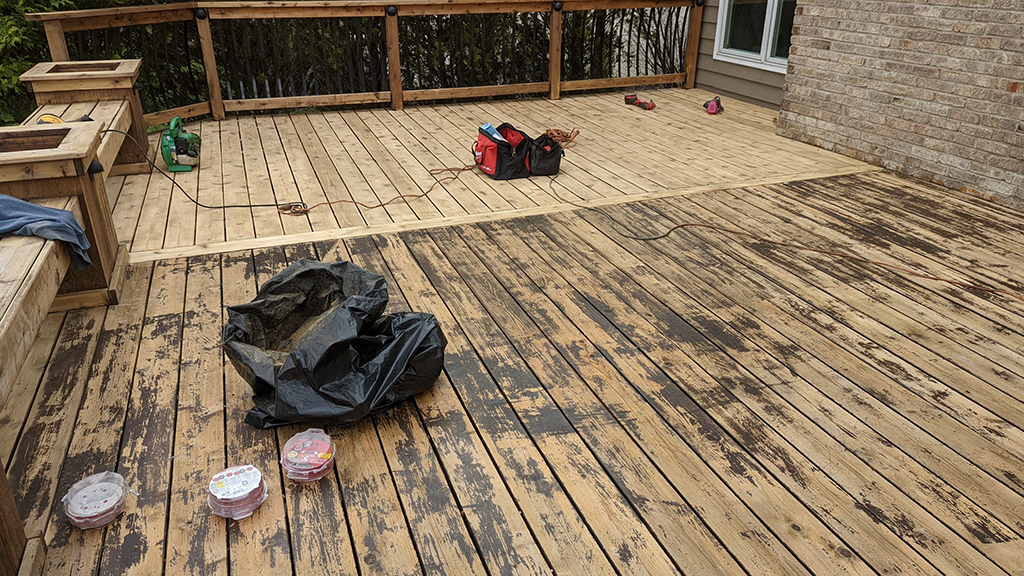
Preparing Your Deck for Staining
Preparation is key before the brush even touches your deck. A deck that’s prepared with precision is a canvas ready to accept the stain evenly and durably. This stage is not to be rushed, as it determines how well the stain adheres and, ultimately, how remarkable your deck will look.
From cleaning to sanding to repairing damages, each step in this preparatory phase lays down the groundwork for a deck that dazzles and endures.
Cleaning the Deck Surface
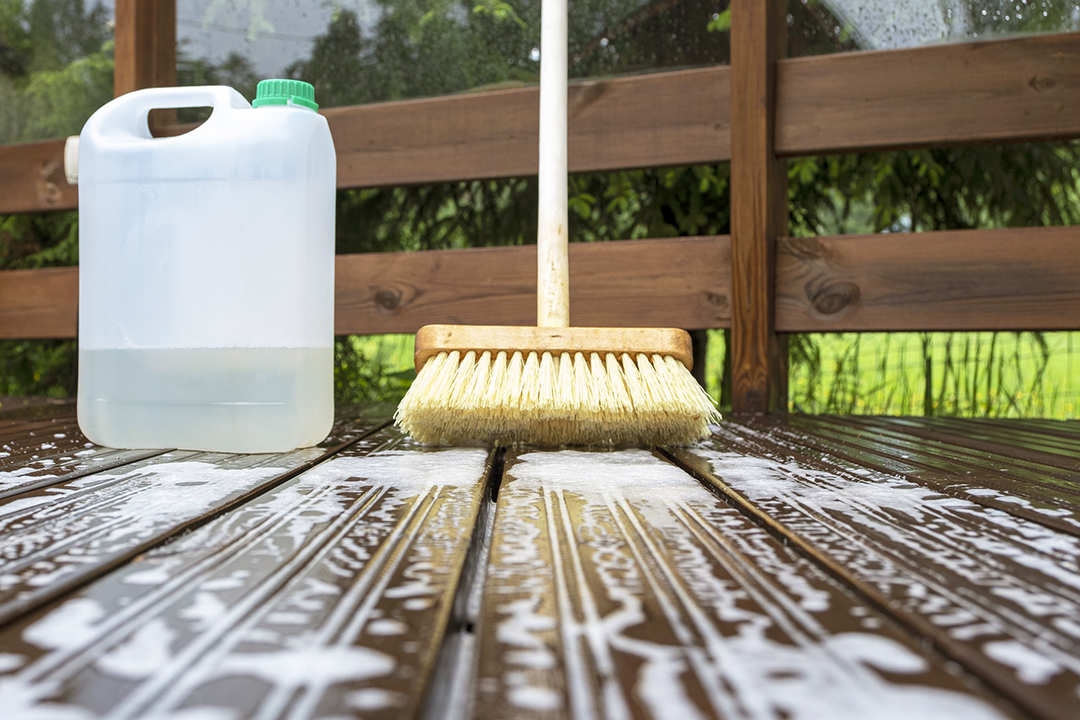
Cleanliness is next to godliness, especially when it comes to deck staining. A pristine deck surface is crucial for the stain to cling to and penetrate the wood. It’s not just about aesthetics; it’s about longevity. Any lingering dirt, mildew, or old stains can create barriers that prevent stain absorption.
So, grab your deck cleaners, avoid harsh chlorine bleach, and start scrubbing with a traditional brush. Only a thoroughly cleaned deck can serve as the ideal foundation for the perfect stain job.
Another option is to use a power washer to clean your deck and save time. However, make sure to adjust the pressure to the correct setting to avoid damaging the deck boards.
Sanding the Deck
The smoothness of your deck’s surface directly influences the evenness of the stain application. Sanding isn’t always necessary, but when it is, it’s a game-changer. Using 60-80 grit sandpaper, gently work away any rough spots, old stains, or imperfections.
Remember to always sand in the direction of the wood grain to maintain the integrity of the deck boards and prevent unsightly scratches.
Repairing Damages
Your deck’s battle scars—cracks, rot, and damaged boards—must be addressed before you even think of opening that stain can. Inspect every inch of the deck and take the time to:
- Fill, fix, and fasten anything that’s amiss
- Use a high-quality wood filler for cracks
- Ensure it’s completely dry before giving it a final smooth sanding
This attention to detail is what sets a professional-looking finish apart from an amateur one.
Ideal Conditions for Staining a Deck
Like a fine artist who waits for the perfect light, timing, and conditions are everything when it comes to staining a deck. The elements can be a stain’s best friend or worst enemy, and knowing when to stain a deck is as important as knowing how. From temperature to sunlight to precipitation, understanding the ideal conditions for stain application can make the difference between a short-lived result and a timeless masterpiece.
Best Temperature Range
Temperature plays a starring role in the drama of deck staining. It’s not about extremes; it’s about finding that sweet spot between 50°F and 90°F where the stain can perform its best. Too hot, and the stain dries too quickly, leaving you with an uneven finish. Too cold, and the stain won’t set properly.
Keeping an eye on the thermometer is an important step to ensure you apply stain in the best conditions for it to shine.
Avoiding Direct Sunlight and Rain
Direct sunlight and rain are the nemeses of the staining process. The sun’s rays can hasten drying, leading to lap marks and an uneven finish. Rain, on the other hand, can wash away your hard work if it arrives too soon after staining.
To avoid these pitfalls, choose a day that’s cloudy and dry, and always, always check the weather forecast before you begin.
Also Check: Avoid Common Deck Staining Mistakes to Achieve Durable Results
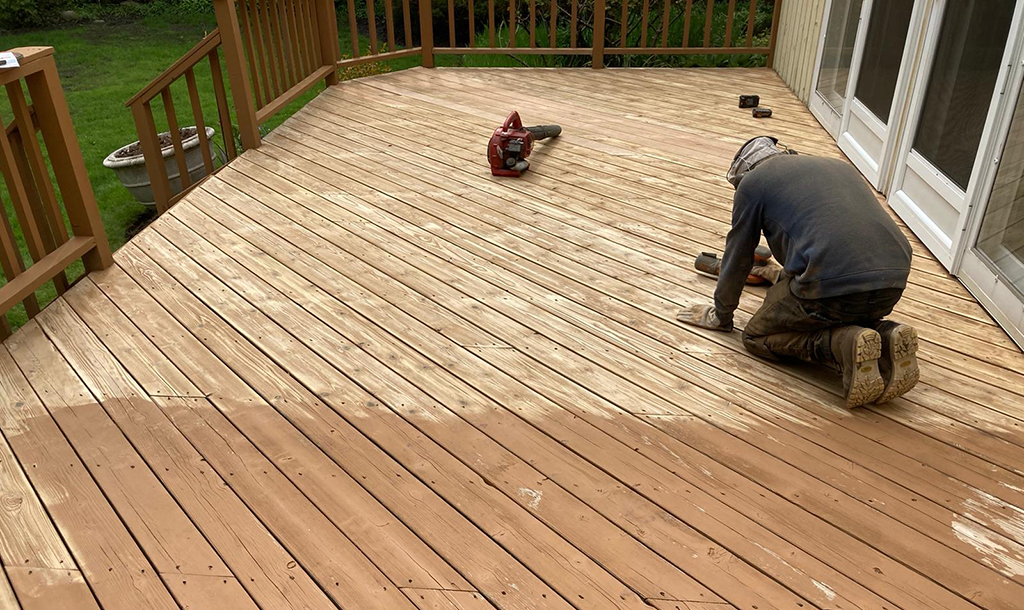
Applying Deck Stain
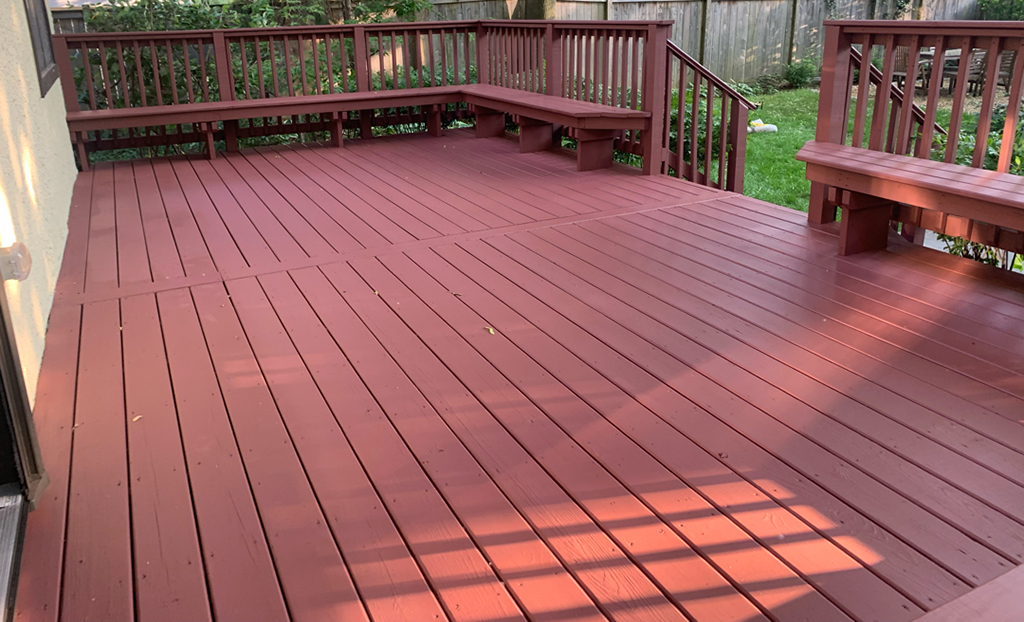
Now comes the transformative moment—applying the stain. With the deck prepared and the weather on your side, the application is where your deck begins to come alive with color and protection. Using the right tools, materials, and techniques, you’ll apply the stain in a way that ensures not just an immediate impact but also lasting beauty.
Tools and Materials Needed
The right tools can turn a good staining job into a great one. Quality brushes, rollers, and applicators are the conduits through which the stain meets wood, and choosing them wisely can make all the difference. Here are some essential tools for staining:
- Natural China-bristle brush
- Roller with a thick nap for rough surfaces
- Foam brush for small, detailed areas
- Stain pad for large, flat surfaces
Each tool has its purpose and will help you achieve a professional-looking finish.
Don’t forget the drop cloths and masking tape to protect the areas that should remain stain-free.
Staining Techniques
Technique is the brushstroke of genius in the art of deck staining. Whether you’re using the brush-on, brush-off method to ensure even coverage or maintaining a wet edge to avoid lap marks, the way you apply the stain can have a profound effect on the finished product.
Always remember to brush the stain deep into the wood fibers and wood pores for an enduring finish.
Drying and Curing Time
Patience is a virtue, especially when waiting for your stain to dry and cure. It’s tempting to rush to the finish line and enjoy your newly stained deck, but giving the stain the time it needs to set is crucial.
With proper drying and curing, the stain will form a strong bond with the wood, providing the protection and beauty you desire for the long haul.
Initial Drying Period
The initial drying period is a delicate time for your deck stain. It’s influenced by a multitude of factors, including temperature, humidity, and the type of stain you’ve chosen. Oil-based stains may cure faster in warm, dry conditions, while water-based ones could dry in less than two hours. But beware of humidity—it can extend drying times significantly.
Full Curing Time
The full curing time is the final wait before your deck is ready to face the world. It varies but typically spans several days to a week, a period during which the stain achieves its maximum durability and adhesion.
Skipping or shortening this wait can undermine the stain’s protective qualities, so embrace the delay and know that it’s for the best.
Maintenance Tips for a Stained Deck
Once your deck is stained and cured, the journey isn’t over. Regular maintenance is the guardian of your deck’s longevity and beauty. A well-maintained deck not only looks better, but it also requires less frequent staining.
From yearly cleaning to periodic inspections, these maintenance practices are the unsung heroes in the life of your deck.
Regular Cleaning
Keeping your deck clean is the first defense against the forces of nature. At least once a year, take the time to remove dirt, mold, and discoloration with a gentle cleaning solution. Use soft-bristle brushes and be careful not to scrub too harshly to preserve the integrity of the stain.
Before using the pressure washer, let the soapy water soak into the surface for a few minutes to loosen dirt and grime. Rinse thoroughly to avoid leaving any soapy residue that might dull the finish.
Annual Inspection
An annual inspection is your opportunity to catch small problems before they become big ones. Look for signs of wear, such as thinning stain or bare patches, and address them promptly with touch-ups.
Inspecting for mildew, mold, and damage not only keeps your deck looking its best but also protects your investment in the long term.
Common Mistakes to Avoid
Even the most well-intentioned deck enthusiasts can stumble. Common mistakes can detract from the beauty and longevity of your stain job, but they can be easily avoided. Here are some common mistakes to be aware of:
- Over-application of stain
- Ignoring weather signs
- Not properly preparing the deck before staining
- Using the wrong type of stain for your deck
- Not allowing enough drying time between coats
Awareness of these pitfalls can save your deck from a less-than-desirable outcome.
Let’s dive into what not to do, so you can do everything right.
Over-Application of Stain
More isn’t always better, especially when it comes to stain. Over-applying stain can lead to a tacky surface, peeling, and reduced moisture evaporation. The goal is to apply a thin, even layer that the wood can fully absorb, allowing it to breathe and ensuring better adhesion.
Resist the urge to apply two coats and trust that less is indeed more.
Ignoring Weather Forecasts
The weather forecast is your crystal ball when staining a deck. Ignoring it can lead to staining in less-than-ideal conditions, risking the adhesion and appearance of your stain. Rain and high humidity are especially problematic, potentially washing away or cracking the stain.
Keep an eye on the sky, and plan your staining days with the forecast in mind.
Summary
From the choice of stain to the final curing period, each step in the process of staining your deck is a brushstroke in the masterpiece you’re creating. By understanding the complexities of wood stain, preparing meticulously, applying with precision, and maintaining with care, your deck will not only look stunning but will also stand the test of time. Embrace these guidelines, and you’ll be rewarded with a deck that’s both a pleasure to behold and a joy to use for many years to come.
Frequently Asked Questions
How do I choose between oil-based and water-based stains for my deck?
Choose between oil-based and water-based stains based on the look and durability you prefer. Oil-based stains provide a natural finish and enhanced water resistance, while water-based stains offer vibrant colors and faster drying time. Test both types on a small area of your deck to see which aligns with your vision.
Can I stain my deck if it’s going to rain the next day?
It’s best to avoid staining your deck if rain is expected within 24-48 hours as it can wash away the wet stain or cause it to dry unevenly, compromising the quality and longevity of your work.
Do I need to sand my deck before staining?
Sanding your deck before staining is not always necessary, but it can help remove imperfections and ensure a more uniform stain application, especially if your deck has rough areas or old stain. Sand with 60-80 grit sandpaper in the direction of the wood grain.
How long should I wait before using my deck after staining?
Wait for the initial drying period of 24-48 hours before using the deck lightly. For full curing and maximum protection, it’s best to wait several days to a week, depending on the weather and the type of stain used.
How often should I re-stain my deck?
Re-stain your deck every two to three years, depending on its exposure to elements, type of stain used, and maintenance. Regular cleaning and annual inspections can help you determine when it’s necessary.